Steps to create a chat inbox for the Gmail account
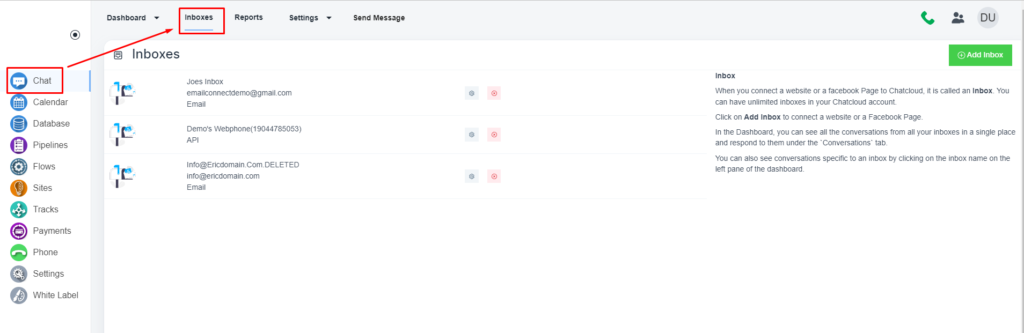
Open the �Inboxes� section
Please, navigate to the �Chat� on the left-side menu. Once the page is open, please click on the �Inboxes� on the top menu bar.
Click on the �Add Inbox� button

Choose the inbox type
Please, choose the �Email� option

Configure the inbox
Please, set a channel name, and the email address

Please, click on the �Create Email Channel� button.

Select a system user as an agent

and click on the �Add Agent� button
Please, click on the �More Settings� button

Enable the �SMTP� feature
Please, click on the �Settings� tab and enable the �SMTP� configuration

Configure the Gmail SMPT
Please, use the flowing details
Address: smtp.gmail.com
Post: 465
Email: Your email address
Password: Your email password
Domain: gmail.com
Encryption: SSL

After configuration, please click on the �Update SMTP Settings� button

💡 If you use 2-step verification on your Google account and your mail client doesn�t support verification codes, you�ll have to enable�App Passwords
Steps to set up APP Password
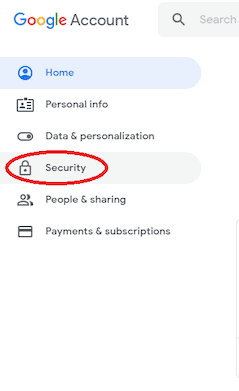
Go to your Google Account and choose�Security�on the left panel.
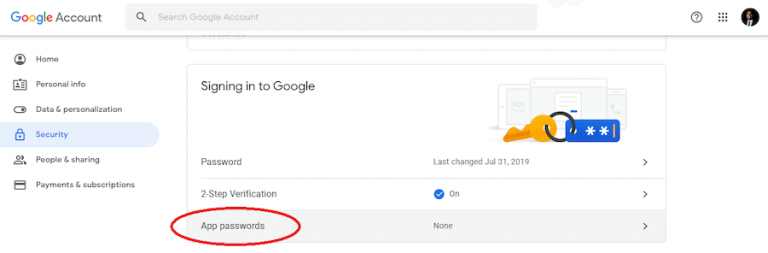
On the�Signing in to Google�tab, select�App Passwords.
If you don�t see this option, it might mean that:
- Two-step verification is not set up for your Google account.
- Two-step verification is set up for security keys only.
- Your account is used through work, school, or another organization.
- You�ve turned on Advanced Protection for your account.
Click on�Select app�and pick the app you�re using.

Click�Select device�and choose the device you�re using.

Click on�Generate.

Follow the instructions to enter the App Password.
The App Password is the�16-character code in the yellow bar�on your device.

Click on�Done.
💡 You won�t have to remember your App Password since you�ll probably use it just once to connect your account to the app.