Steps to enable the website widget
Please, navigate to the �Chat� on the left menu bar. Once the page is opened, click on the �Inbox� on the top menu bar. Finally, click on the �Add Inbox� button.

Click on the �Website Widget� option.

Please, provide all the details.

✅ You can create multiple website chat widgets for different domains.
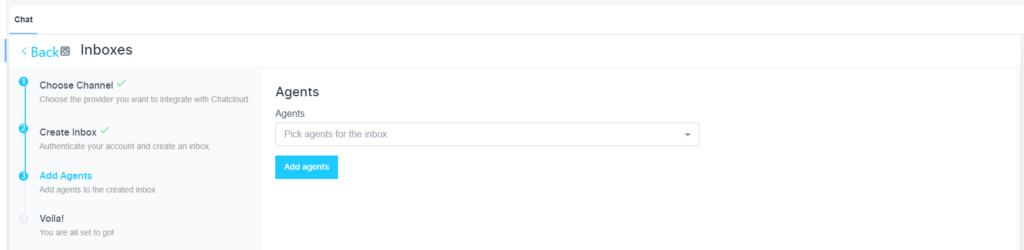
Select an agent
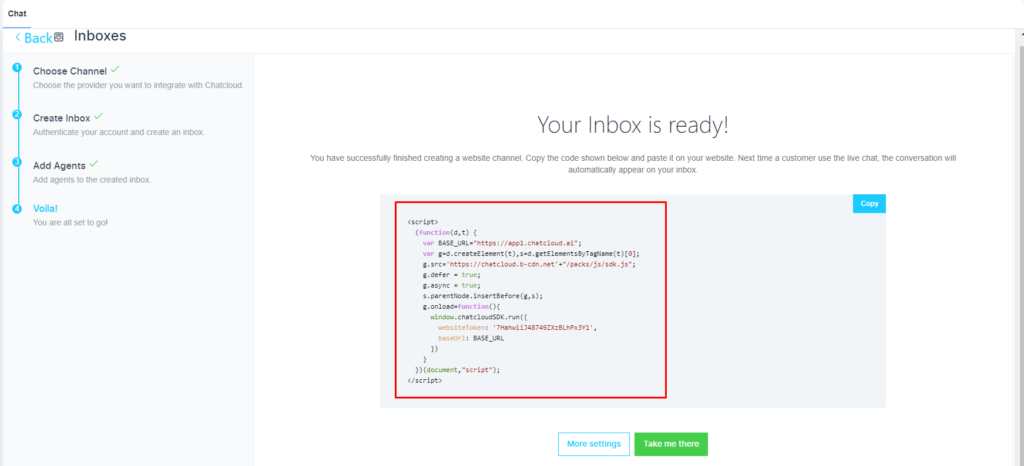
You will have the script for the chat widget. You need to use this script on your website/s.