💡 How to create a contact flow?
💡 How to create an automation flow with a form?
Steps to configure the email step
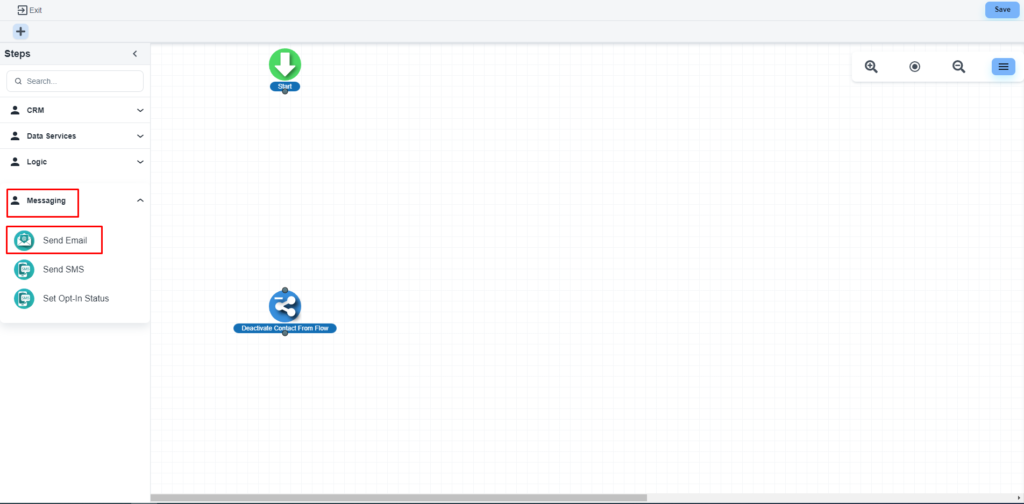
Add the ‘Email Send’ step
Under the ‘Messaging’ section, you will get the ‘Send Email’ step

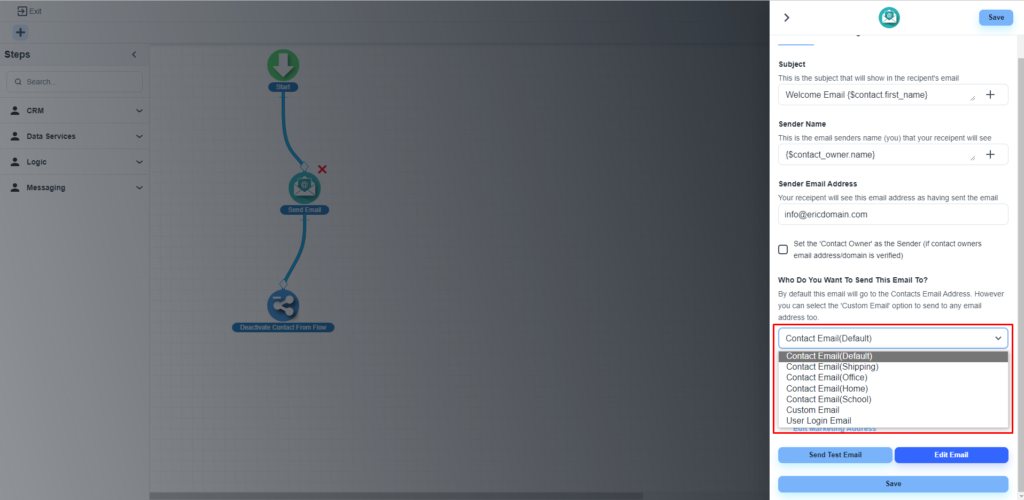
The system will allow you to configure that step

‘Email Send’ step options
Subject
Here you can add a fixed text like ‘Welcome Email’. Also, the system allows you to add all the dynamic fields like contact, submitted form fields etc

Sender name
Like the subject, you will also get the same feature for the ‘Sender Name’ field

Sender Email Address
Here you can add any email address that you have connected to under the chat inbox.

💡 If you use a custom domain email like info@ericdomain.com, then you need to auth this domain ‘ericdomain.com’
💡 How to connect the domain with your System?
Who do you want to send this email to?
Here you can set different email fields of the contact.

Advanced options
With this option, you can add CC, BCC, Reply To Name, Reply-To Email options also

Design email body
Please, click on the ‘Edit Email’ button, to design the email template for that step.

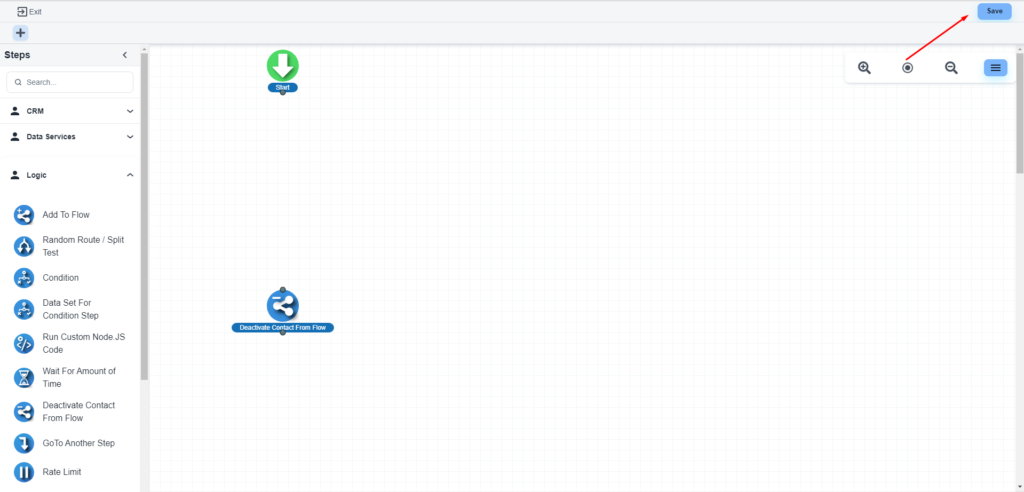
Save the flow
After completing the design works, please click on the ‘Save’ button

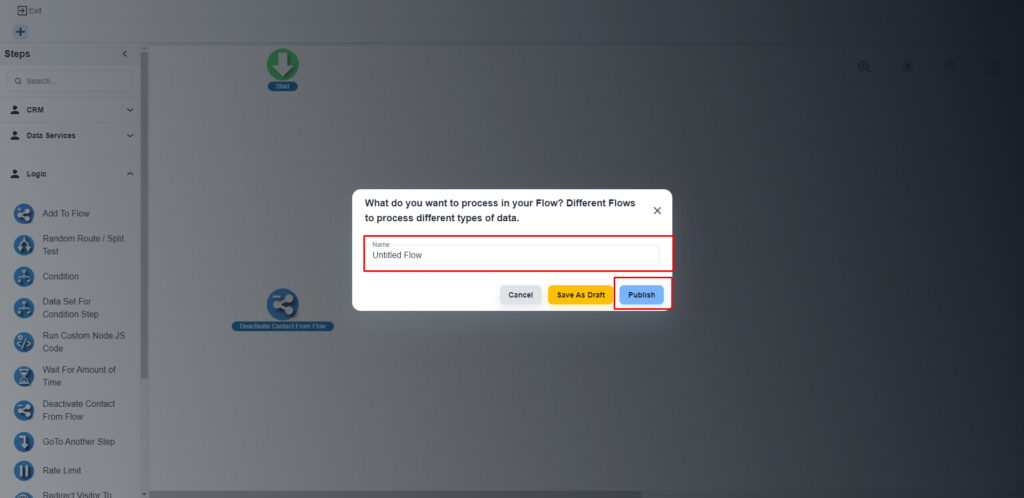
Publish the flow
The system will allow you to set a name for the flow and publish the flow.
